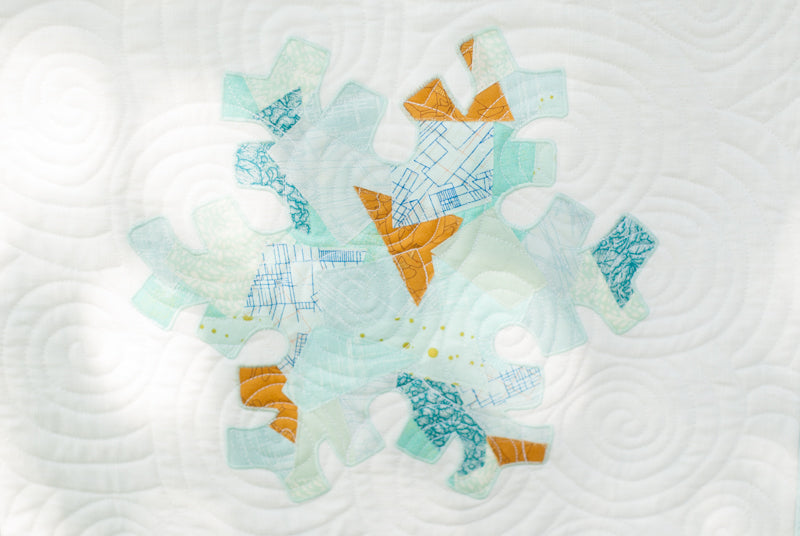
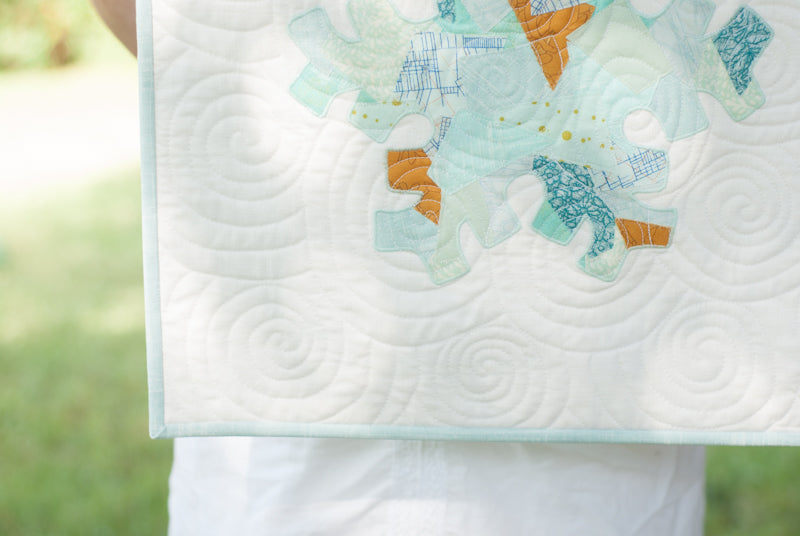
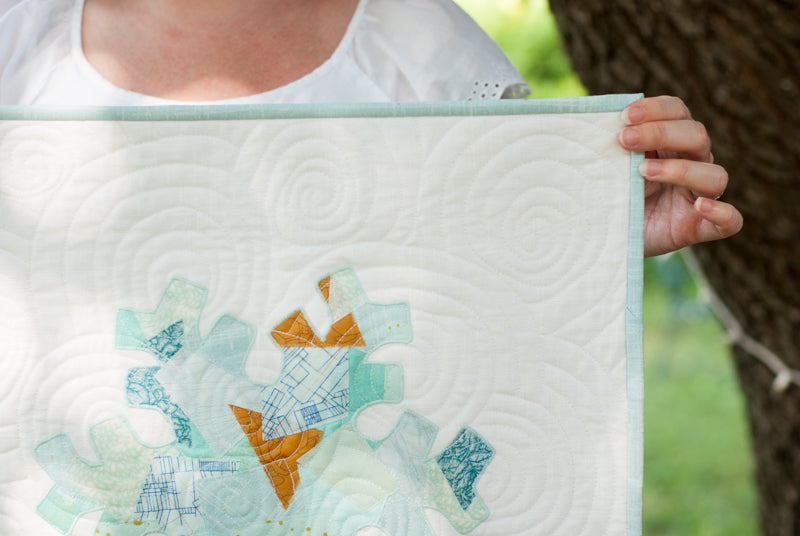
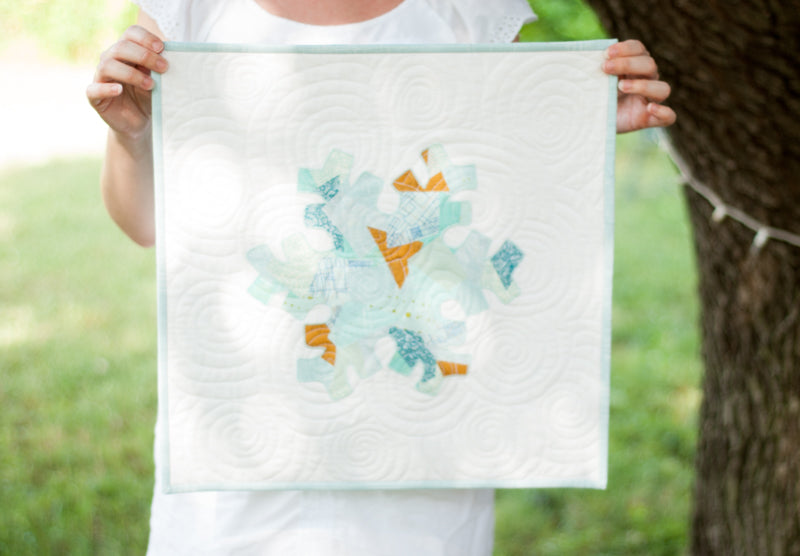
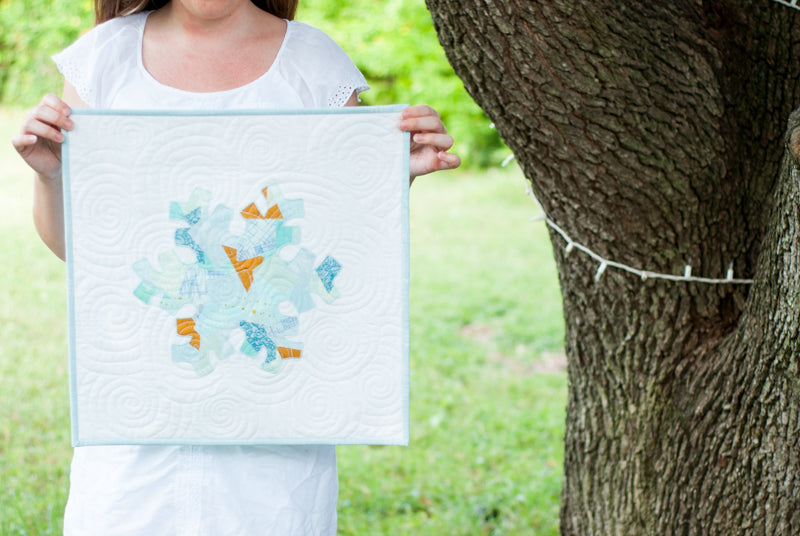
Let it Snow Applique Quilt
Finished Size: 20" x 20"
Materials
- Fabric for the applique piece (a piece slightly larger than the template)
- Fusible Web* (a piece slightly larger than the template)
- Printed template to trace
- Marking utensil
- Thread that coordinates with the applique fabric
- Thread that blends in with the background fabric
- ¾ yds of fabric for the background
- 1 yd fabric for backing and hanging sleeve
- batting approximately 27” x 27”
- ¼ yd of binding fabric (for 2.5” binding strips
Make the Applique Piece
- Download and print the free pattern: Simple Raw-Edge Applique instructions and template
- Prepare the applique piece according to the instructions.
Finish the Wall Hanging
Make the Quilt
- Cut the background fabric to about 4” wider and taller than your finished size. This is optional, but I like to include the extra fabric in case there is any stretching during the quilting process, this way I can square it up nicely at the end.
- Center the prepared appliqué piece on the pressed background fabric, fuse or pin in place.
- Satin stitch around the outside edge of the appliqué piece.
- Finish quilt as desired.
Add a Hanging Sleeve
- Cut a strip of the leftover backing fabric 9” wide x the width of the finished quilt.
- Hem each of the shorter ends by folding toward the wrong side ¼” twice, then stitching along the fold.
- Fold the sleeve in half, wrong sides together, along the length then sew together with a ¼” seam. You will not need to turn the sleeve right-side out since you will place the seam against the backside of the quilt.
- Press the sleeve with the long seam down the center of one side.
- Pin the long edge of the sleeve to the back of the quilt, about 1” below the top edge and ½” from each side, with the long seam hidden against the back of the quilt.
- Pin the lower edge of the quilt, keeping the back seamed side flat against the quilt and shifting the pressed edge about ½” up toward the top fold. This creates a gap in the sleeve that will allow for the dimension of the hanging rod.
- Hand stitch both long edges and the back edge of the sleeve at each end to the quilt back, being careful not to stitch through to the front of the quilt.
Have fun and Happy Holidays!

15 comments
Where do we download the ebook that’s mentioned in the instructions?
thanks Shannon. So much fun and I love snow flakes.
Thank you so much. Hope your holidays are full of fun and happiness.
Thank you- this is gorgeous!
Shannon, thank you for the snowflake pattern! Hope you and your family have a very merry and healthy Christmas season. :)