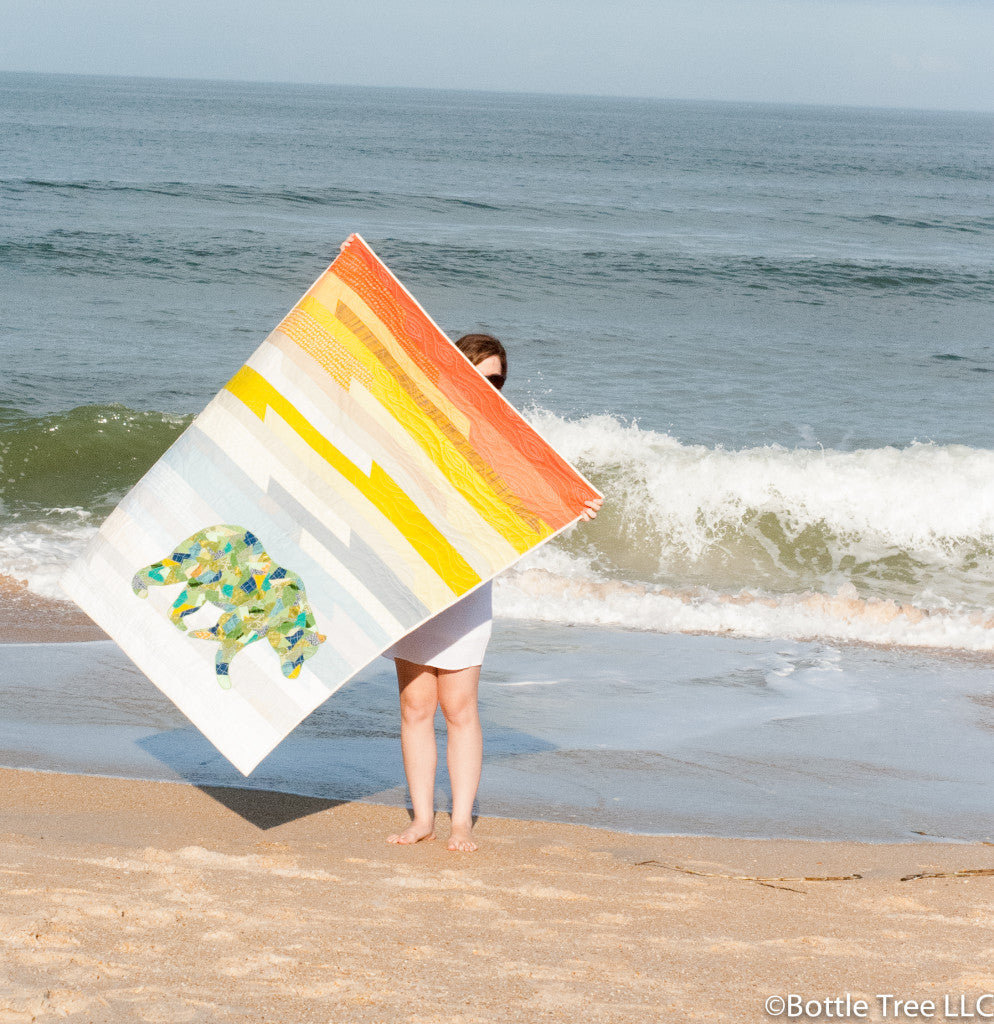
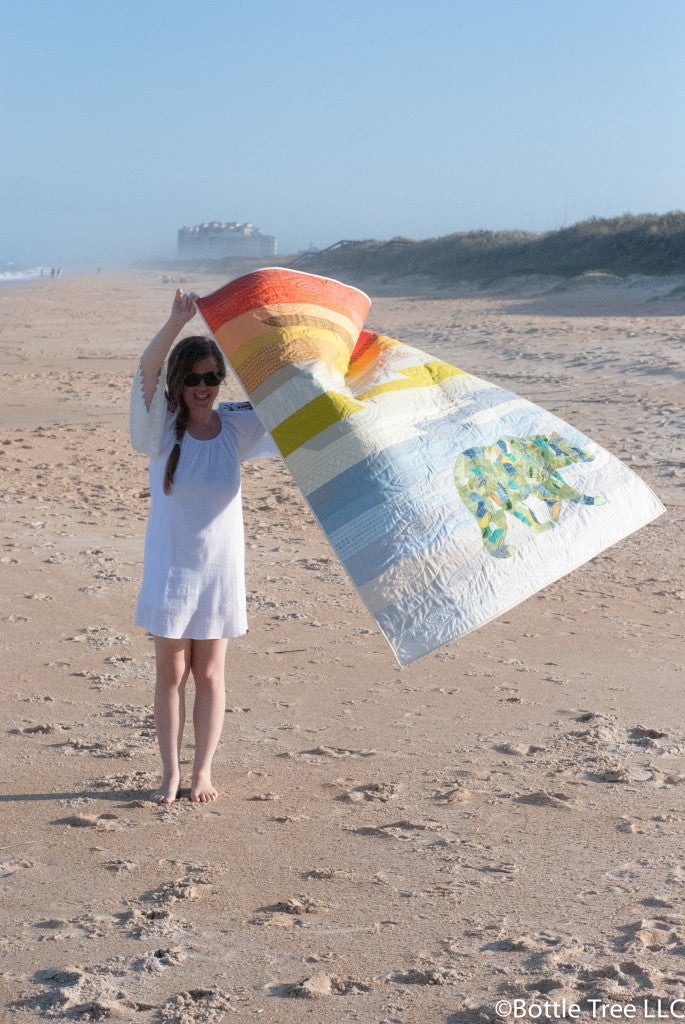
This super easy jelly roll quilt top can be whipped up in a couple hours. Add your favorite
scrappy applique piece and you've got yourself a totally unique and modern quilt, perfect for those last minute gifts!
A few weeks ago was my grandfather's 90th birthday, and we had a big family reunion in Palm Coast, Fl to celebrate!
I knew I wanted to use my
Wandering Bear Template, since he went to Baylor University. I also knew I had less than a week to make it!
I whipped up the background super quickly using 2 jelly rolls (1 Doe by Caroline Friedlander and a coordinating Kona Cotton solids roll). I only used about half of each, but I wanted to include solids as well as prints.
I first found the arrangement I liked by laying the strips on my design wall in stripes. Then I pieced them all together like binding, so I had one super long strip of fabric. Then I cut the strip every 50" for the rows. It was SUPER quick, and I really love the effect.
Size Shown
50" x 60"
Materials
|
|
|
Craft
(16"x16")
|
Wall
(30"x40")
|
Crib
(36"x54")
|
Throw
(50"x60")
|
Twin
(63"x87")
|
Full
(78"x87")
|
Queen
(84"x92")
|
King
(102"x92")
|
|
2.5"strips
|
3 or more
|
15 (or 1 jelly roll)
|
25 (or 1 jelly roll)
|
36 (or 1 jelly roll)
|
67 (or 2 jelly rolls)
|
82 (or 2 jelly rolls)
|
94 (or 3 jelly rolls)
|
113 (or 3 jelly rolls)
|
|
Backing
|
20"x20"
|
1 1/2 yds
|
1 3/4 yds
|
3 1/4 yds
|
5 1/4 yds
|
5 1/4 yds
|
7 1/2 yds
|
7 3/4 yds
|
|
Batting
|
20"x20"
|
36"x46"
|
42"x60"
|
56"x66"
|
69"x93"
|
84"x93"
|
90"x98"
|
108"x98"
|
|
Binding
|
1/4 yd
|
1/3 yd
|
1/2 yd
|
1/2 yd
|
3/4 yd
|
3/4 yd
|
3/4 yd
|
3/4 yd
|
|
Applique Template
|
small
|
small or medium
|
medium
|
medium
|
medium or large
|
large
|
large
|
large
|
|
*For applique materials, see template.
Cut
Cut your 2.5" strips. If you are using jelly rolls, you get to skip this step!
Piece
- Arrange your strips in the order you want them. Then, starting at the top and working down, piece the strips together like you would binding. You will end up with one super long 2.5" strip. Cut off those little triangles with a 1/4" seam allowance and press your seams open.
- Now to cut your rows. The rows are as wide as the finished width of your quilt. (For example, the rows for the throw are 50", since the dimensions of the throw size is 50" x 60"). So cut your strip every 50" (or whatever the width of your finished quilt is).
- Lay out your rows, orienting them whichever way your like.
- Piece the rows together. Voila!
Add Bear
My applique technique (Scrappy Applique) is super easy and quick! If you have been nervous to try applique, or if you have a ton of scraps you want to use up, this is the method for you! Using the instructions in your
Wandering Bear Template (or any of the other templates), make your applique piece and attach it to the quilt top.
Finish
Finish quilt as desired. I used a large woodgrain quilting pattern for this guy.

My goal as a designer is to give you the raw materials so you can be creative and come up with your own totally unique quilt. Mix and match applique templates with different pieced backgrounds-- have fun with it! What applique template do you think would look neat on this background?


4 comments
I met you at QuiltCon and love your book! But I love this quilt even more, it´s fantastique. I would try such a quilt with a blooming flower!
Thanks Petra, I remember you! Ooo, I love that idea— let me know if you make one, I want to see it!
[…] Here is the tutorial for the quick and easy background. […]
[…] For the bear, I made a simple strip pieced background to put the sweet bear on. Tutorial for him can be found here. […]